

💾 Bookmarks Dashboard
In this comprehensive Notion tutorial, I’ll show you how to build a web clipping database from scratch with a free template at the bottom of the article. A web bookmark dashboard is an essential addition to the native Notion web clipper or other third-party browser extension that help you bring web pages into your Notion workspace. Here’s how it works step by step. There are resources for web clippers in the template below.

2022-2023 Calendars
A bundle of calendar images for Notion galleries that span from Sep 2022 to Dec 2023 + more!
The Web Clippings Database
Create a blank page in Notion via the sidebar or inside an existing page (trigger: /page), then turn the page into a database for all web clippings. Choose between six database options (recommended: table).
Click to expand
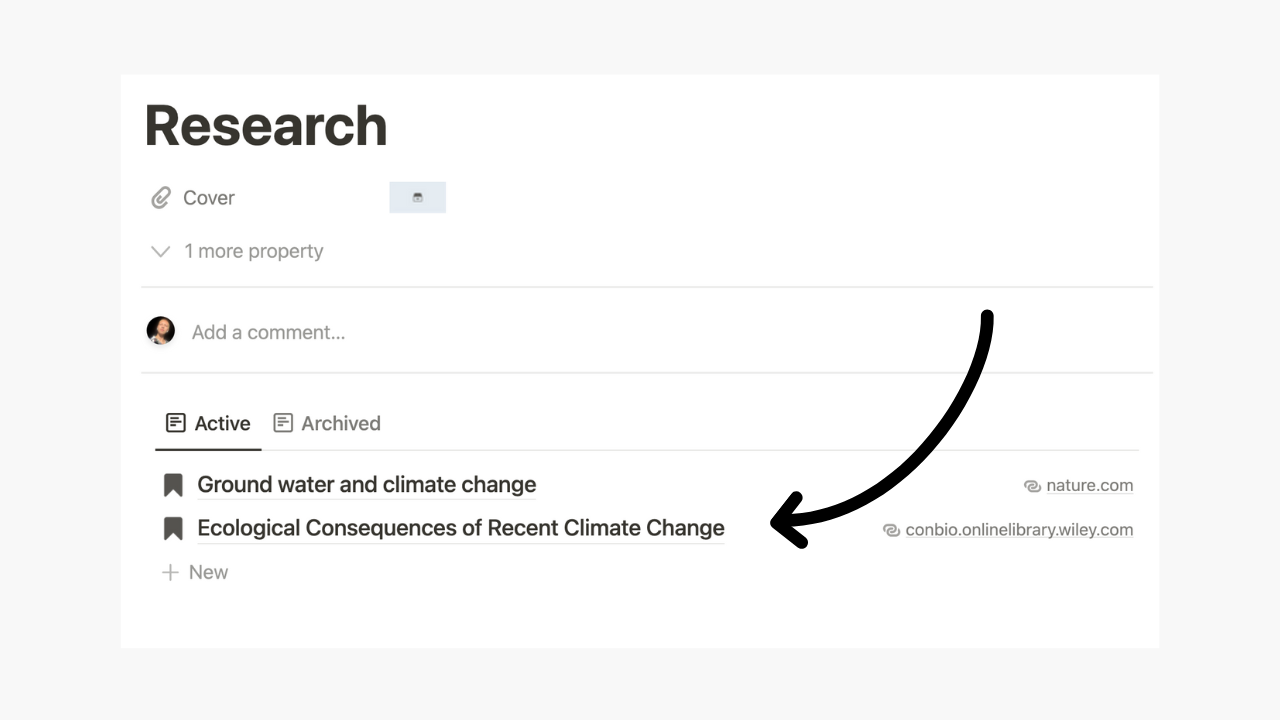
Create six of the seven properties shown in the image below (the Category relation will be created in a later step). A new property in your database can be created via the column section of a table, database menu, or inside any database page.
Click to expand
For every property, there is a type to choose from. The property type is highlighted in a bold and italics below.
Tags (multi-select): used to label and organize web clippings.
Link (link): to access the web page in browser.
Date Saved (date created): to add saved timestamp.
Status (status): to view and organize web clippings into a roadmap.
Archive (checkbox): to hide and organize inactive web clippings.
Favorite (checkbox): to organize high-traffic or noteworthy clippings.
2. The Categories Database
Similar to the Web Clippings database, create a new page and database called “Categories” (recommended: gallery).
Create two properties in the categories database described below. Again, there are three ways to create a database property; via the database menu, table column, or inside any database page.
Click to expand
Cover (files & media): add an image file to customize gallery cards inside Gallery or Boardview.
Web Bookmarks (relation): a connection to the Web Clippings database to collect all web pages inside the current category.
Relation properties can be edited, as shown above, to add a backlink relation from the current to the connected database. There is a text field to enter the name of the new backlink relation inside Web Clippings database. In this case, I labeled the backlink “Category.”
3. The Categories Template
Now, let’s collect all web clippings that relate to a particular category inside the category’s page body as shown below. This is beneficial for those who want to navigate all web clippings through category folders.
Click to expand
There are two ways to create a new template inside a database; via the down chevron next to the blue button labeled “New”, or inside any empty database page there is an option to “create a new template.” You can create multiple templates inside a database too!
4. Collect Clips In Category page
Inside the new template page, create a linked database inside the body of the page via the block menu (trigger: /linked database). This is the linked database that will collect all web clippings. In order to make this connection, you need to declare a Source. Simply, choose the Web Clippings database as the source.
Click to expand
Next, choose the layout to view these web clippings via the Layout menu option in the database menu (…). I chose list and decided to hide the database title. If you want to quickly navigate to the original Web Clippings database via this window, you can choose to show database title.
Click to expand
As shown below, navigate to Properties in the database menu to show or hide properties from each clipping too. In my list, I showed Link.
Click to expand
You can also add a sorting method and filters too.
In order to connect all web clippings to the corresponding New Category upon clicking this template automatically, we’ll need to create a filter that states: Category contains “Title of Template” (the title of template should be the first option in the list). Below are all the sorts and filters recommended for this view.
Click to expand
Sorts
Status Ascending
Date Saved Ascending
Filters
Category contains “Title of Template”
Archive is unchecked
Because the first database view created here has Archived checkbox as unchecked, the title of this view can be renamed to “Active” as shown below.
Click to expand
Next, let’s create another database view in this table for Archived web clippings under this category. Since the previous view has all our necessary sorts, filters, and properties showing, we can simply duplicate the previous view and work from there as show below.
Click to expand
Rename the new view to “Archived,” then change the filter for Archive is unchecked to checked.
Click to expand
Click away from this template page or navigate back to the original Categories database when complete. Your new database template is now accessible via the dropdown menu next to the blue “New” button at the top right hand corner of the database page.
Click to expand
5. How To Create A Notion Dashboard
The last step is to create a single Notion page that collects both databases created above, Web Clippings and Categories, and display both in a fashion that makes navigation, addition, and review of the workspace easier. This is what is called a dashboard as shown below.
Firstly, if you don’t already have a page for your new dashboard, create a new page via the sidebar or the block menu (trigger: /page).
(optional) Next, move both Web Clippings and Categories into the new page. Above, you'll see that my original databases are inside Callout blocks (trigger: /callout).
Note: Callouts are very useful for your dashboard. If you are creating a template for your audience or client, it is recommended to give your customer directions with these blocks, especially if they are not familiar with the program.
Create a linked database (trigger: /linked database) to view the Categories database first in the dashboard. Again, Notion will prompt you to choose a database Source. Choose Categories.
Click to expand
Let’s create a gallery showing the Cover files & media property from inside the Categories database that we made earlier. You can upload any image file into this property to test the next step.
To view this image through a gallery card, locate the database menu (…) and Layout. Change Card Preview to Cover.
Click to expand
Below the linked Categories database, create another linked database for Web Clippings (trigger: /linked database). Choose Source as Web Clippings. This time, the Card Preview can be None for a clean button effect.
Click to expand
In this linked database, show only favorited clippings via the Favorite checkbox property created earlier. To do this, create a filter that states Favorite is Checked.

Click to expand
Note: if you want to create a button effect on a gallery card, you can show the Link property through the card for clickable access to the browser. To do this, go to the database menu (…), choose Properties, then show Link.
Click to expand