
🌙 7-Day Notion Layout
This is a weekly spread between Monday and Sunday that will auto-populate from a Notion calendar. All days are spread into two rows of four columns. For those who like the presentation of a non-database weekly spread but also like the convenience of a database manager, this is the best of both worlds, and it takes a few minutes to setup. There is also the option to duplicate the Notion template below the tutorial.
Step 1: Create a Calendar
If you don’t already have a task calendar, create one from the block menu in any Notion page (trigger: /calendar). This calendar will serve as your main task manager. After building it, you can hide it in your sidebar, keep it hidden in another page, inside a toggle, or keep it in the same page as your weekly spread.
Step 2: Create a Done Checkbox
We can do some light designing for the calendar. First, create a checkbox property inside the new calendar database called “Done.” To create a new property, you can follow one of the following two options:
Navigate to the database menu (…) to the left of the new button > Click Properties > Click Add new property > Choose checkbox and name it “Done.”
Create a new page anywhere in your calendar > Above the comment bar, click Add new property > Choose checkbox and name it “Done.”
Show the new checkbox inside the calendar view to quickly toggle tasks done without having to navigate to each page.
In the same Properties menu page, as shown below, click the eye symbol next to the Done checkbox to show in the database view.
Every new task in the calendar should now look like this:
Step 3: Columns for each Weekday
For most screen sizes, 3-4 columns will adequately display your week into two rows. For larger screen sizes, you may be able to fit 6-7 columns. To quickly create columns in any Notion page, navigate to the block menu (trigger: /column). Choose how many columns you need.
In this example, I have four columns on the top from Monday to Thursday, and four on the bottom from Friday to Sunday with an extra for unscheduled tasks.
Label each column with a header (type: # text).
Note: I did not nest the second row of columns under the first. This row has its own set of columns triggered by the block menu.
Step 4: Link Tasks to Weekdays
In order to neatly nest a list of corresponding tasks to each weekday, you will first need to create a formula property inside the calendar database:
Navigate to the database menu (…) to the left of the new button > Click Properties > Click Add new property > Choose formula and name it Weekly Spread

Inside the formula, add this code:
if(formatDate(prop("Date"), "W") == formatDate(now(), "W"), formatDate(prop("Date"), "dddd"), "")
The breakdown of this formula lays out a condition that only if the task’s date lands in the current week between Monday and Sunday, display the weekday’s name using the formatDate() function.
For example, if it is Thursday today, the tasks for the Monday that passed is the first day of the weekly spread and tasks for the coming Sunday is the last.
Step 5: Nest Tasks in Columns
Use the linked database feature to link tasks to their corresponding columns. Under each weekly header, find the linked database option in the block menu (trigger: /linked data).
This will prompt you to choose the database to link to. Choose the calendar database you made earlier.
Next, there should be an option to choose the type of database view. In my example, I used a list and named the view Monday Tasks.
This linked database is a portal into your calendar, and so, you can show the properties you have in the calendar inside this list view. For example, you may want to show the done checkbox (database menu (…) > properties > show Done).
Below the properties menu option, is an option called Filter, as shown below. Configure the filter to only show tasks in this view when the Weekly Spread formula contains “Monday.”
It should look like the image below. You can also add a Sort. I have the date in ascending order for tasks that may have designated times.
Lastly, repeat the process for each column. To quickly duplicate the previous linked database:
Click the block’s menu > Duplicate.
Or highlight the block > Type cmd + d.
Duplicate the previous database, then drag the duplicate into the next weekday.
Quickly change the filter to match the weekday for each.
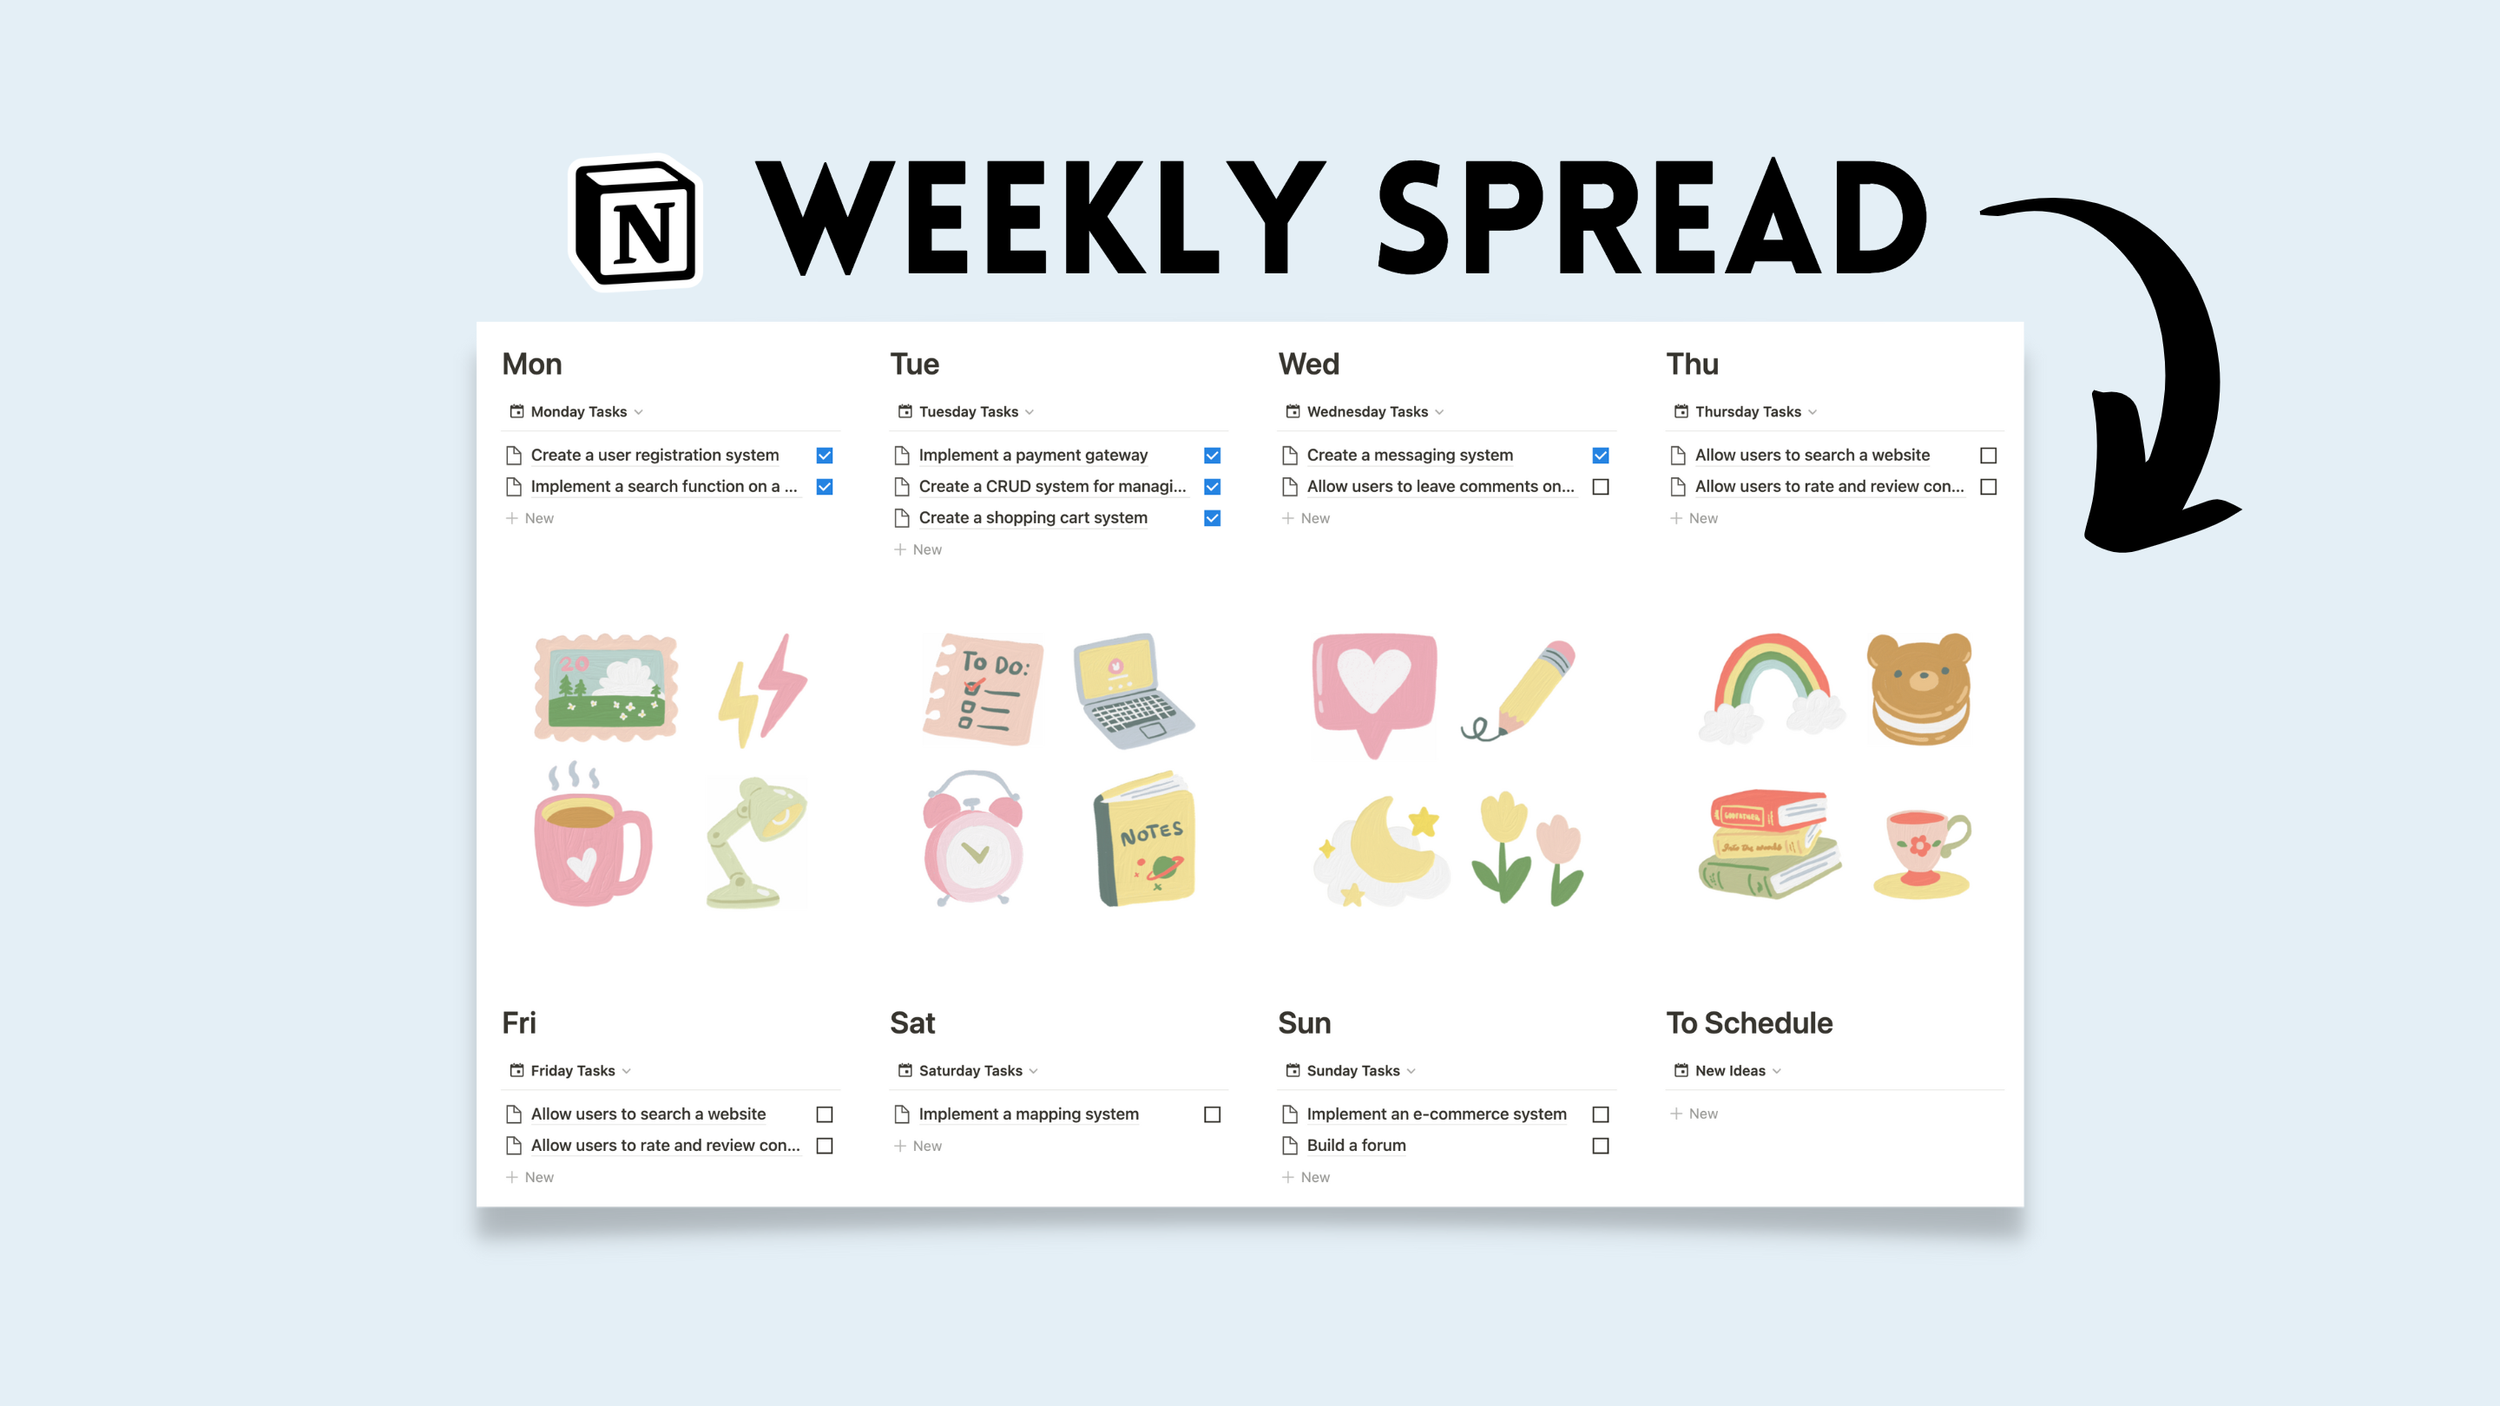
Final Layout
In my design of the weekly spread, I added a third row of 4 columns in the middle for four image blocks. To add image blocks, trigger: /image in each column.
Click to expand